Shingleback LITE 4 Bike Rack: Tested

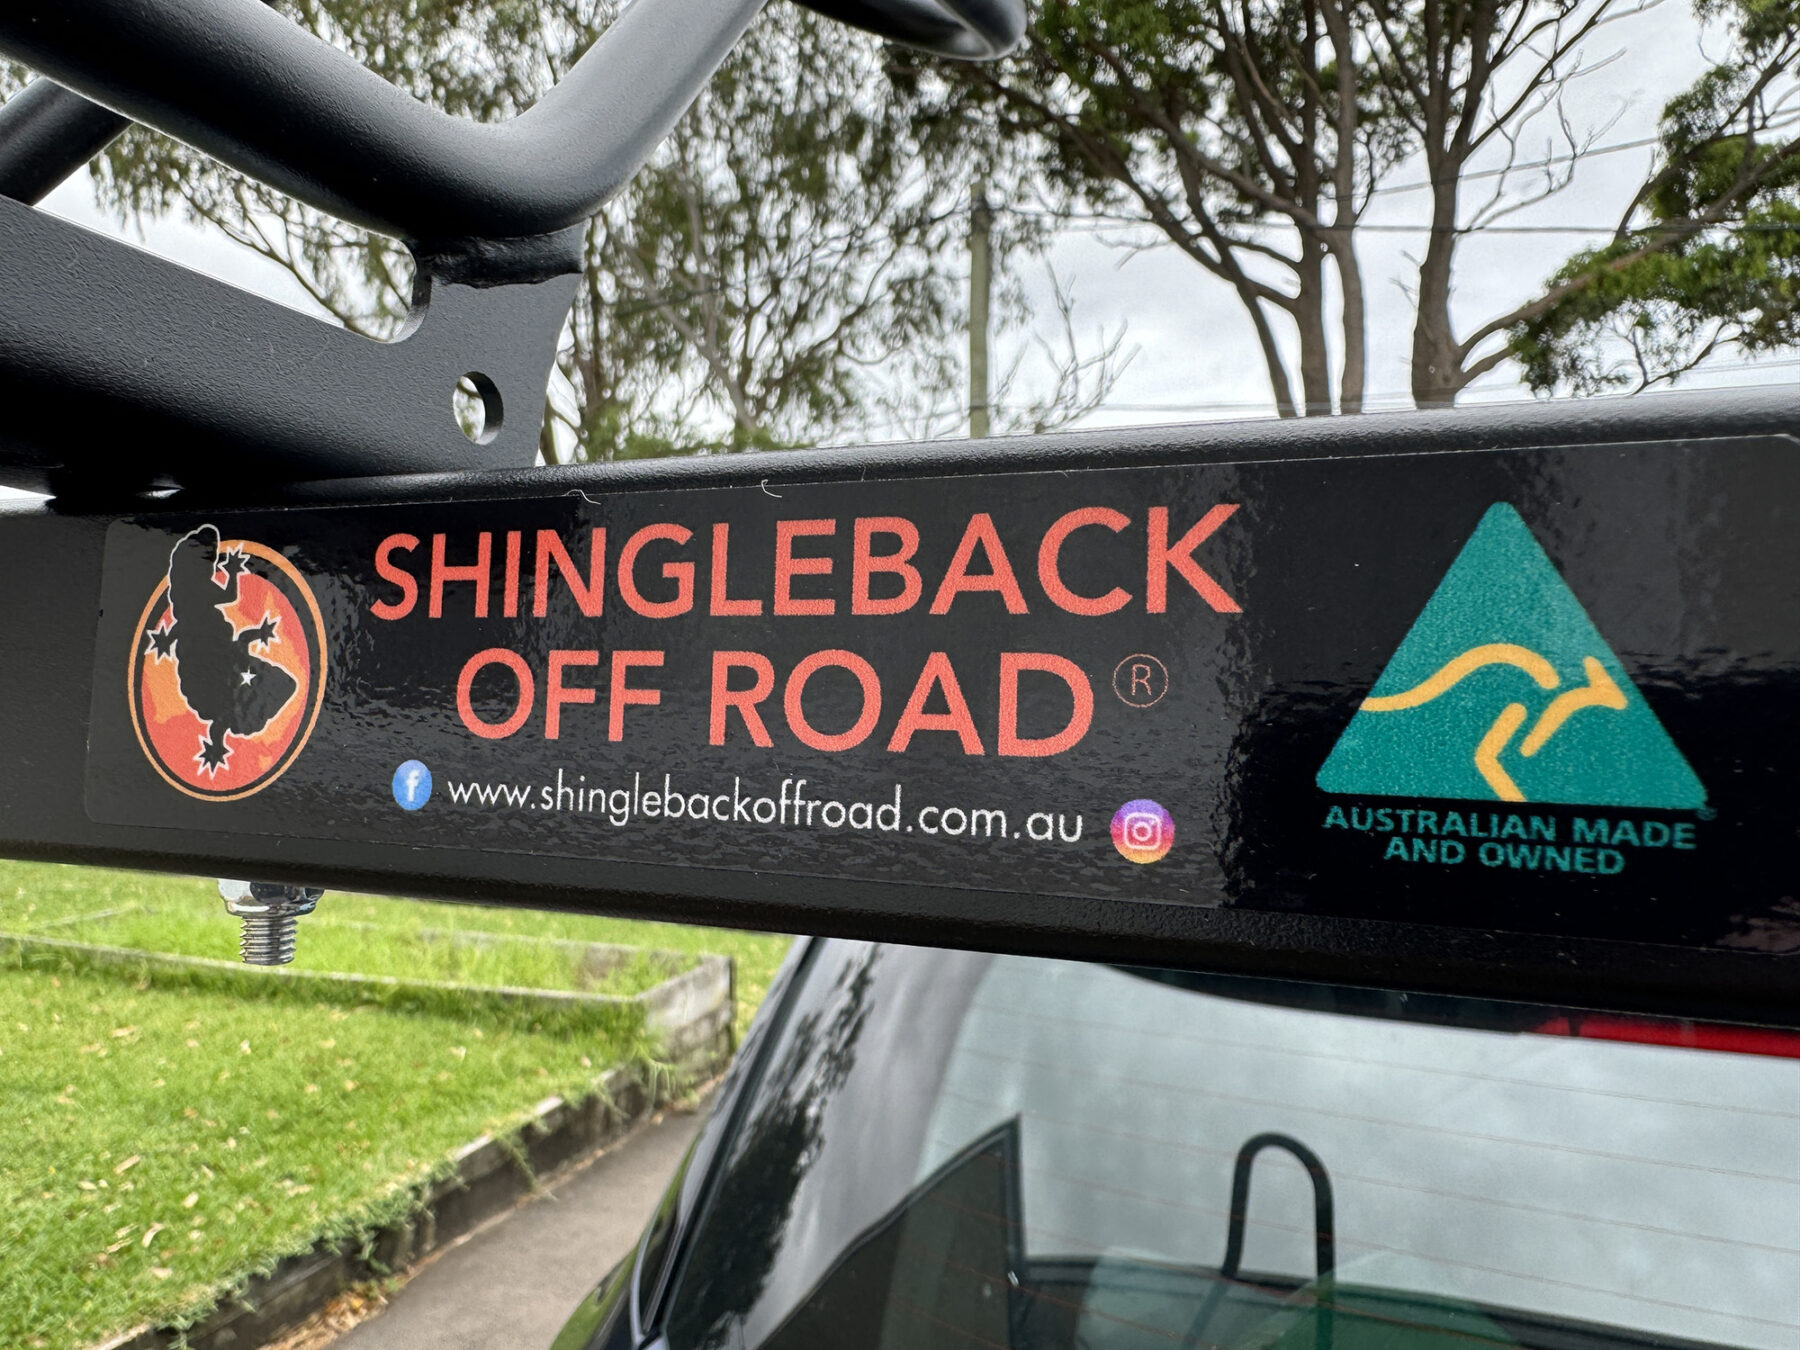
Ah, bike transportation… If there’s anything more likely to cause an argument in the Walker house, it is how we are going to transport our four bikes. Over the years, we’ve tried some awesome bike-carrier contraptions, some decent ones, and a couple of not-so-good options. The latest bike carrier style – or format, to be more precise – is the vertical rack, with many options of this now available. One of the most popular, going by sightings at trailheads and on the road, is a brand that originates here in Australia. Shingleback Off Road both designs and builds its range of vertical bike racks here in Oz – something that, even before testing this unit, I thought was well worthy of recognition. So it was that I finally contacted Andrew Taylor, the brains trust behind Shingleback Off Road, and managed to get hold of a Shingleback LITE 4 Bike Rack. It could be the one rack to rule them all but, more pertinently, it’d be hopefully the one rack that made those time-consuming, bad language-littered mornings before a family trip, a distant, well-forgotten memory. So how did that all work out?
Design
The Shingleback LITE is one of four models in the Shingleback bike rack range, with each model catering for different numbers of bikes, and of a slightly different construction, i.e., the Shingleback LITE is available in two, three, four, five and six-bike versions, the 2B90 is a two-bike carrier, and there’s a Shingleback for ute owners with custom rear canopies, too. It also comes with an impressive 10-year warranty.
When it arrived for testing, the Shingleback LITE 4 Bike was in a couple of boxes, ready to be put together. It is of steel and alloy construction, and you do have to build it yourself. Now, as much as I am quite handy in the outdoors, my ‘building’ skills are another matter. Thankfully, Shingleback supplies a comprehensive set of instructions (and there’s an excellent YouTube video guide if you prefer visual instruction), making even the most hapless of handymen look like a home improvement legend. The build took around 50 minutes and is best performed with the rack being built while on the vehicle, starting with the tow-bar tube, i.e. the base. A big bonus is that all of the holes and bolts married up perfectly – very much appreciated!
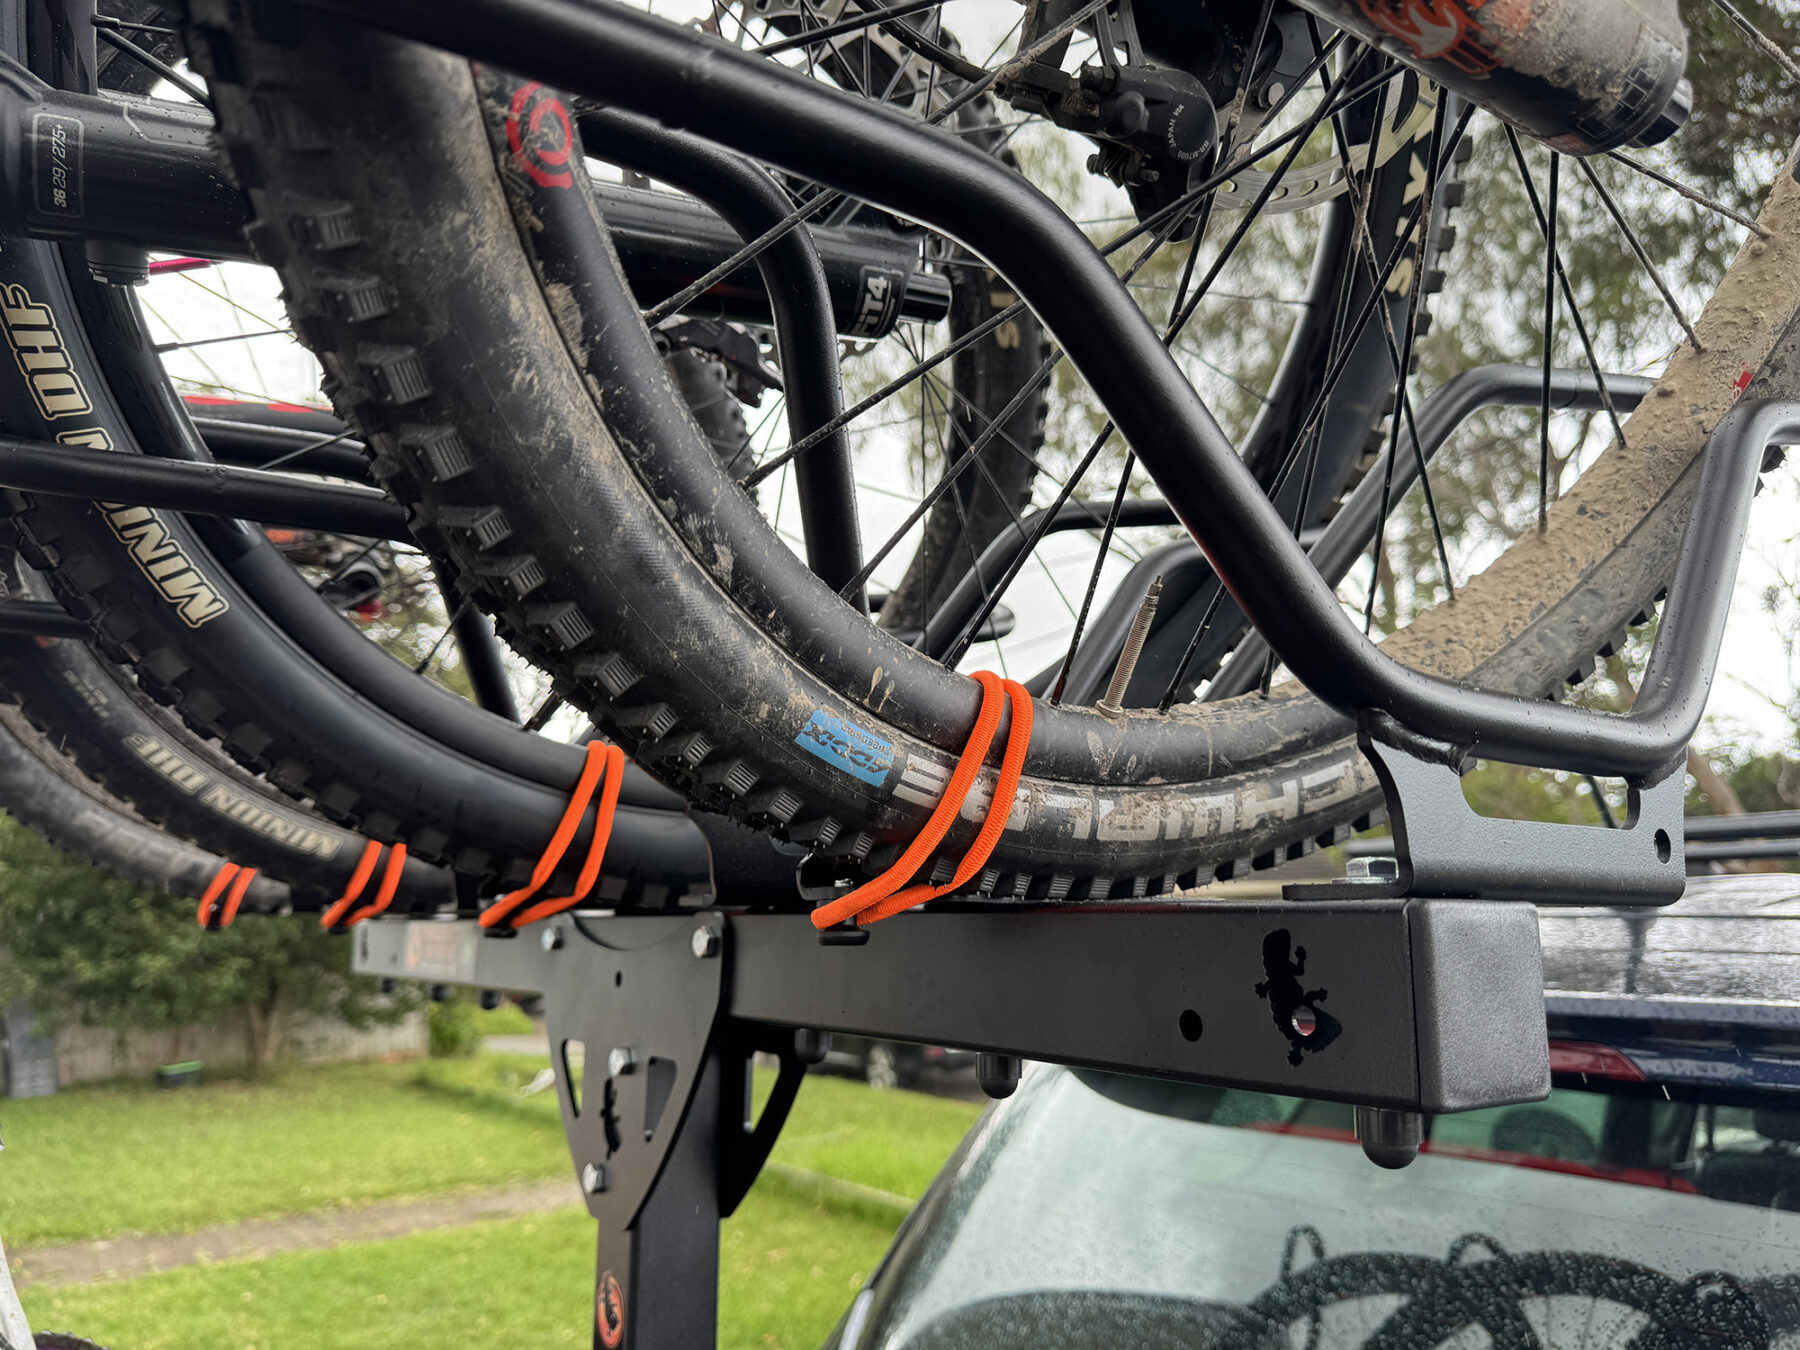
It is at this build stage you first notice how smart the design of the Shingleback is. The cradles that are used to hold the bike’s front wheel are adjustable, via a set of staggered bolt holes (six on each side of each cradle), allowing you to adjust the cradle both forward/back and rotate in either direction. This is simple, obvious, and bloody clever, enabling you to tweak the angle of each bike to its neighbour to avoid touching the neighbouring bike/handlebars. The cradle shape is also intuitive, with each arm wrapping around your bike’s tyre quite high up, thus avoiding any chance of the wheel ‘jumping out’ over any rough surfaces. Of course, the bikes are further secured, via tough bungee cord straps up top around the front wheel, and at the base on the rear wheel.
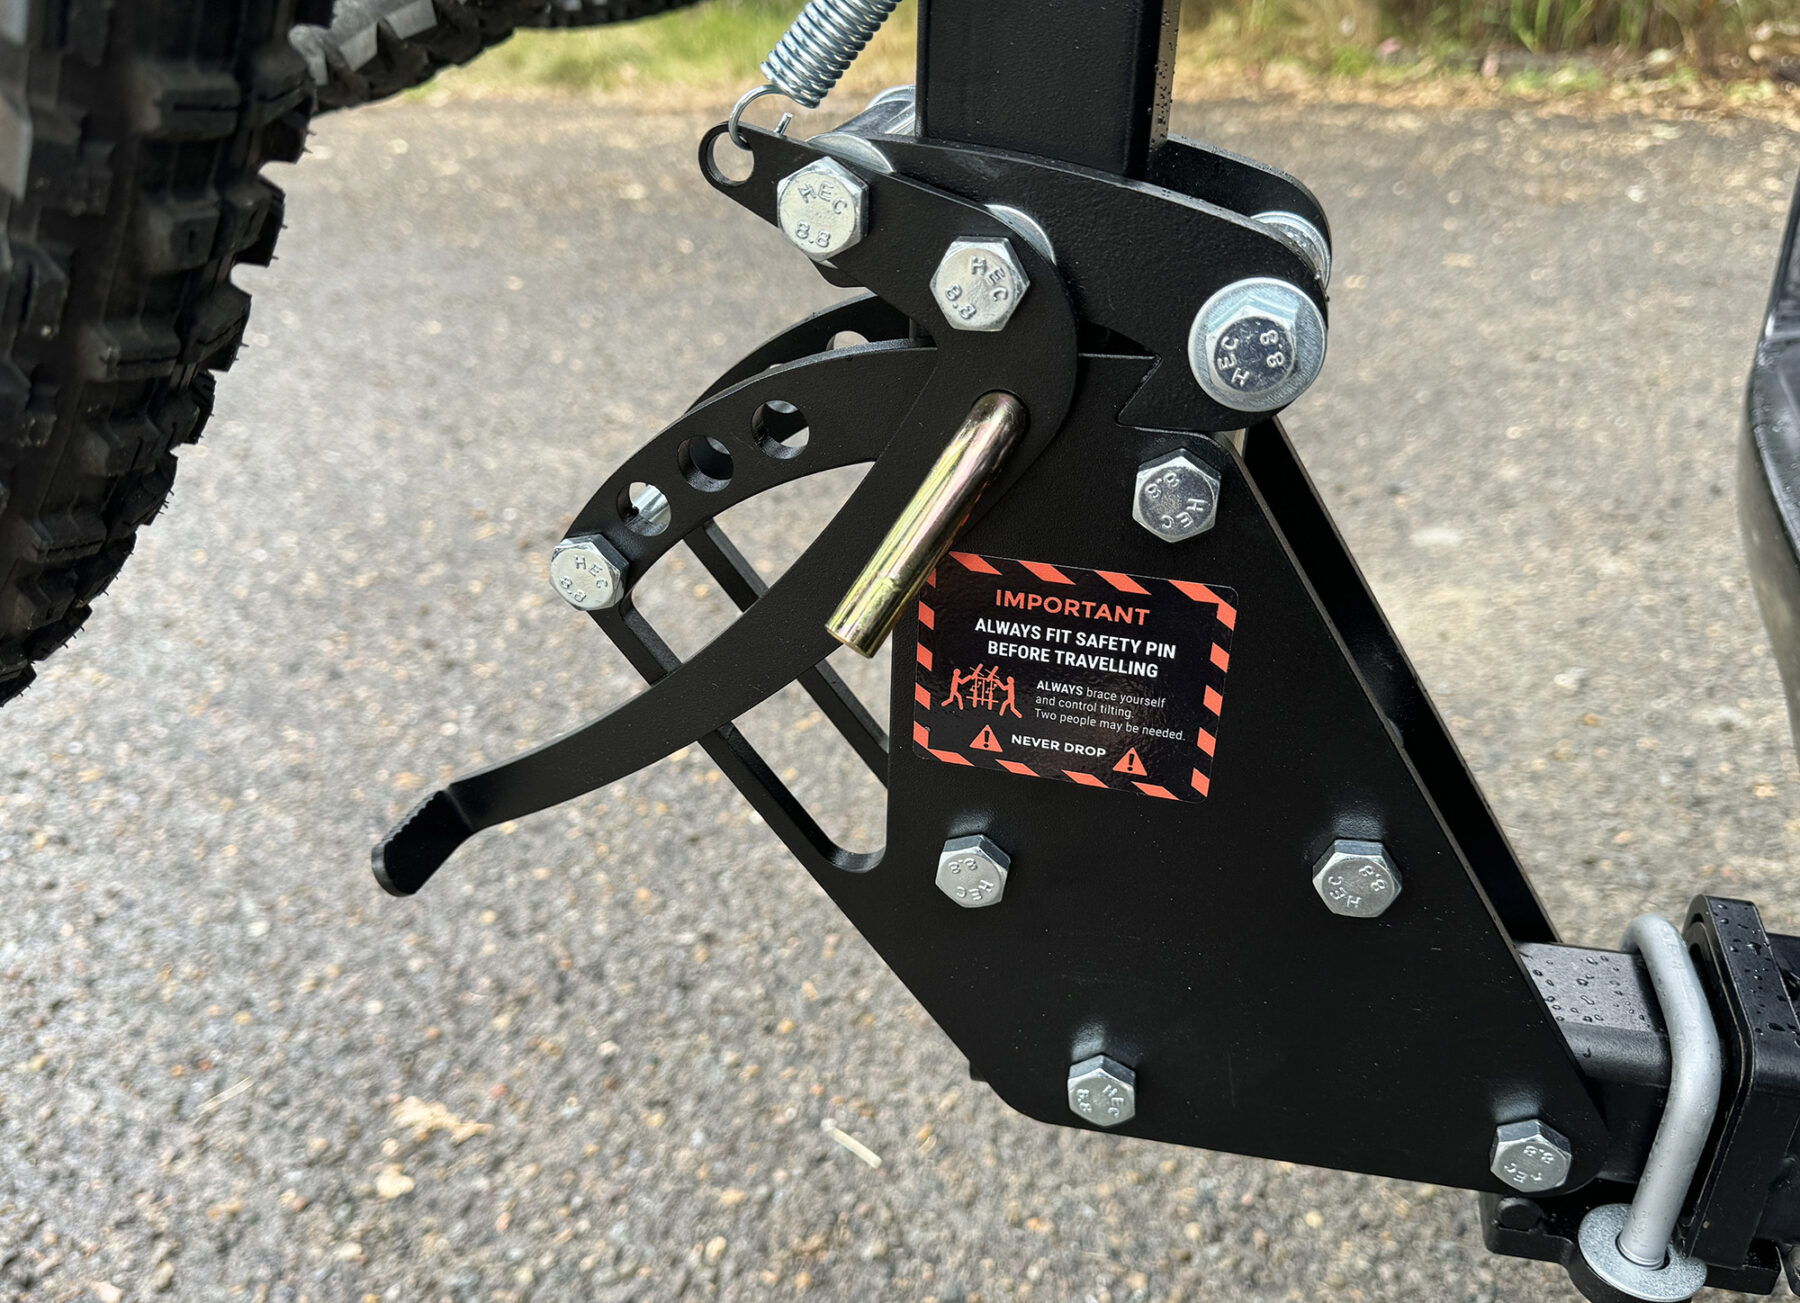
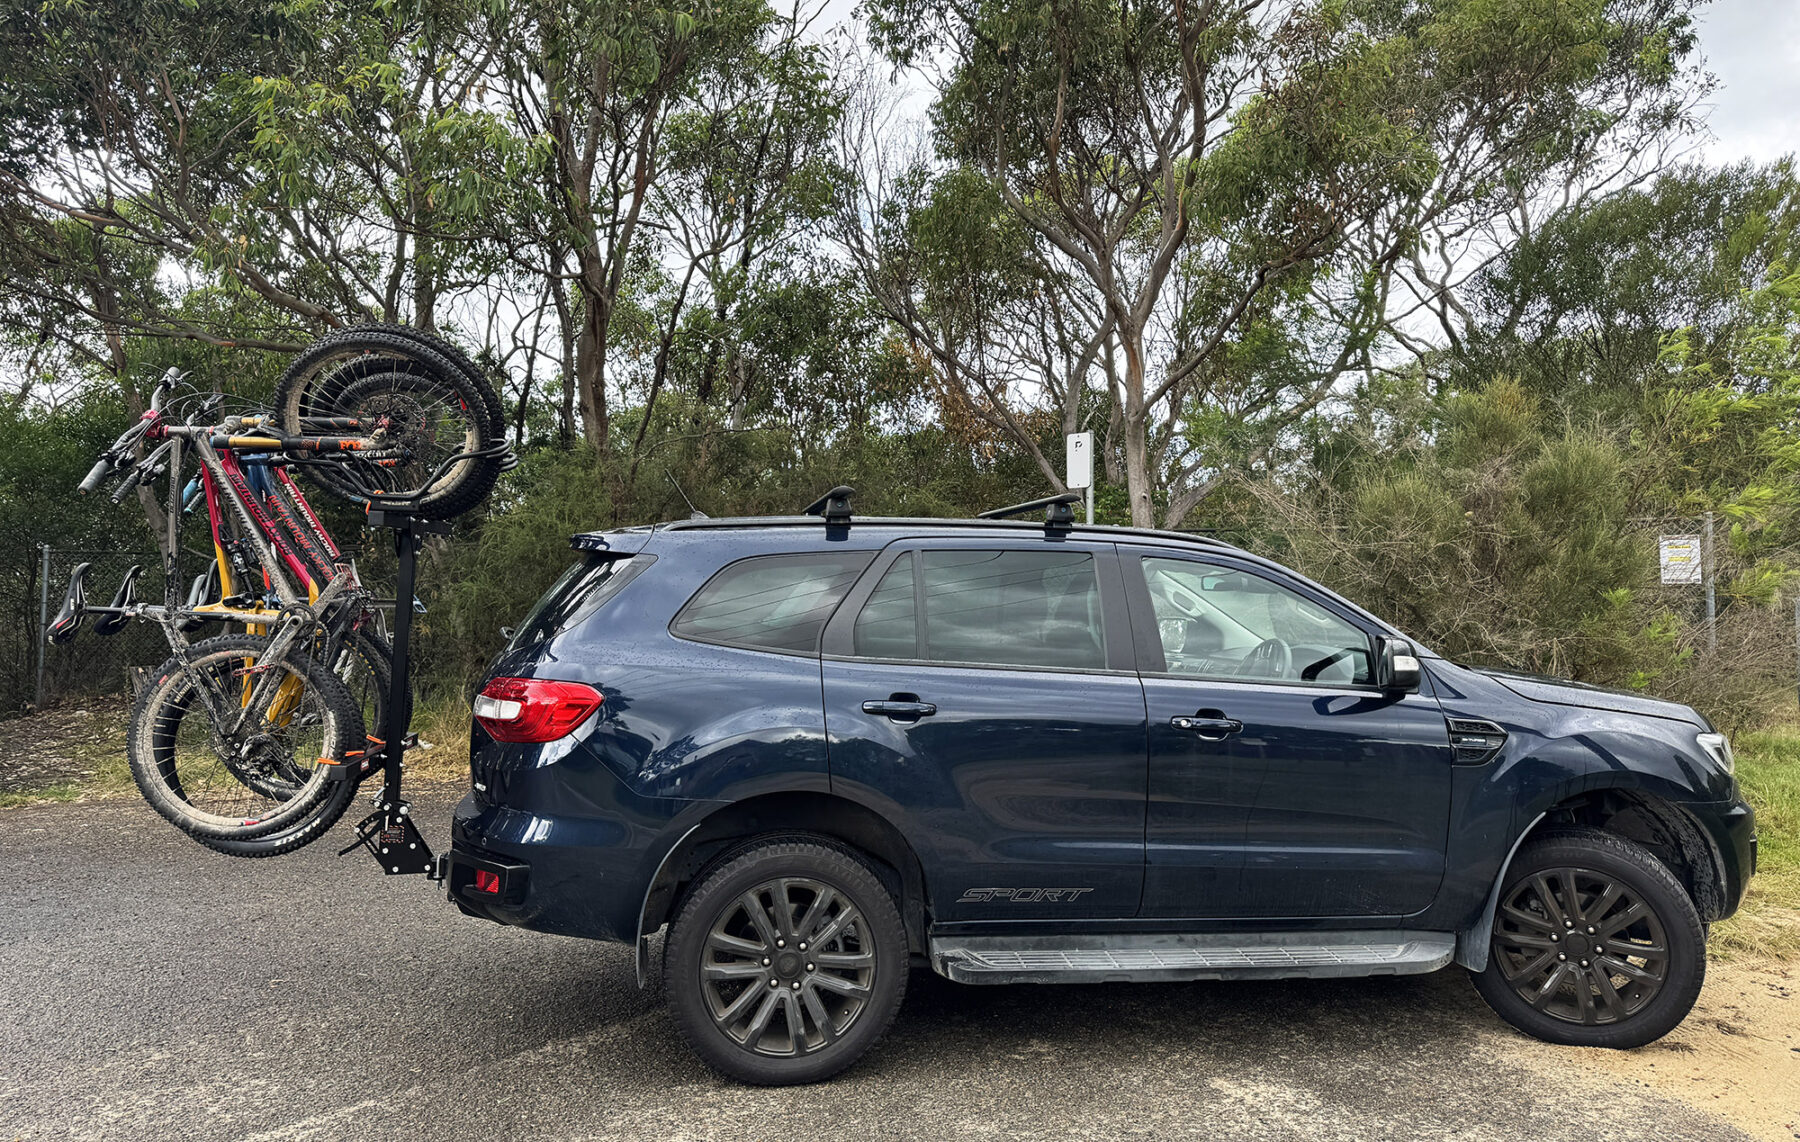
The LITE has a nifty foot lever that allows you to tilt the rack (and loaded bikes) back enough to either open the rear hatch/window of your vehicle, or to aid in loading the bikes; smaller riders don’t have to lift the bike up so high/at all to put the front wheel into the cradle. You can adjust the amount of tilt via a thru-bolt that offers a few position options so when you tilt the rack back, it stops against the thru-bolt.

The rack is even designed to lie fully horizontal, where you can use the cradles to park your bikes into. Again, straightforward design, and clever with it. Each individual cradle is rated to 35kg, so even if you own a hefty e-MTB, you will have no worries (e-MTBs range in weight from around 15kg to 26kg).
For those with bikes smaller than a 24-inch wheel size, there is an adaptor (think: 20-inch kids’ bikes or BMX), and there’s also an adaptor for road and gravel bikes. Speaking of accessories and spare parts, there are plenty; number plate holders, lightboards (more on that later), pedal straps and utility hooks, through to a swingarm (for owners of vehicles with side-opening rear doors), dolly stand and floor stand (both for storing rack off the bike), different length towbar tubes (vehicles have different length tow-tongues) and anti-rattle clamps (I fitted this to the LITE 4 – it is excellent!) and shims, are some of a hugely comprehensive range of add-ons. It’s an impressive list, but how does it go when put to work?
In the field
Fitting the LITE 4, you will notice its weight, but surprisingly not too much; the tall profile keeps the weight distributed evenly and it is dead-easy to slide into the hitch in one quick motion. Then you just insert the hitch pin, tighten the anti-rattle clamp, and you’re done – it’s then time to load the bikes.
To tilt the rack back, you slide the locking pin out, push your foot on the foot latch, and then lower it until it hits the tilt-stop bolt. This tilted rack allows for far easier mounting of bikes; most adults will be able to simply roll the bikes toward the rack, then (depending on slope of ground) they can nearly roll straight onto the rack, with only a slight lift needed to put the bike’s front wheel into the cradle. The bungee is quickly affixed both top and bottom, then you simply tilt the rack back up to its locked position and re-inserting the lock-pin. It’s nearly laughable how easy the process is, regardless of bike size, the only caveat being the rack will be quite heavy when loaded with four adult-sized bikes, so it takes a little effort to lift it back to the locking position.
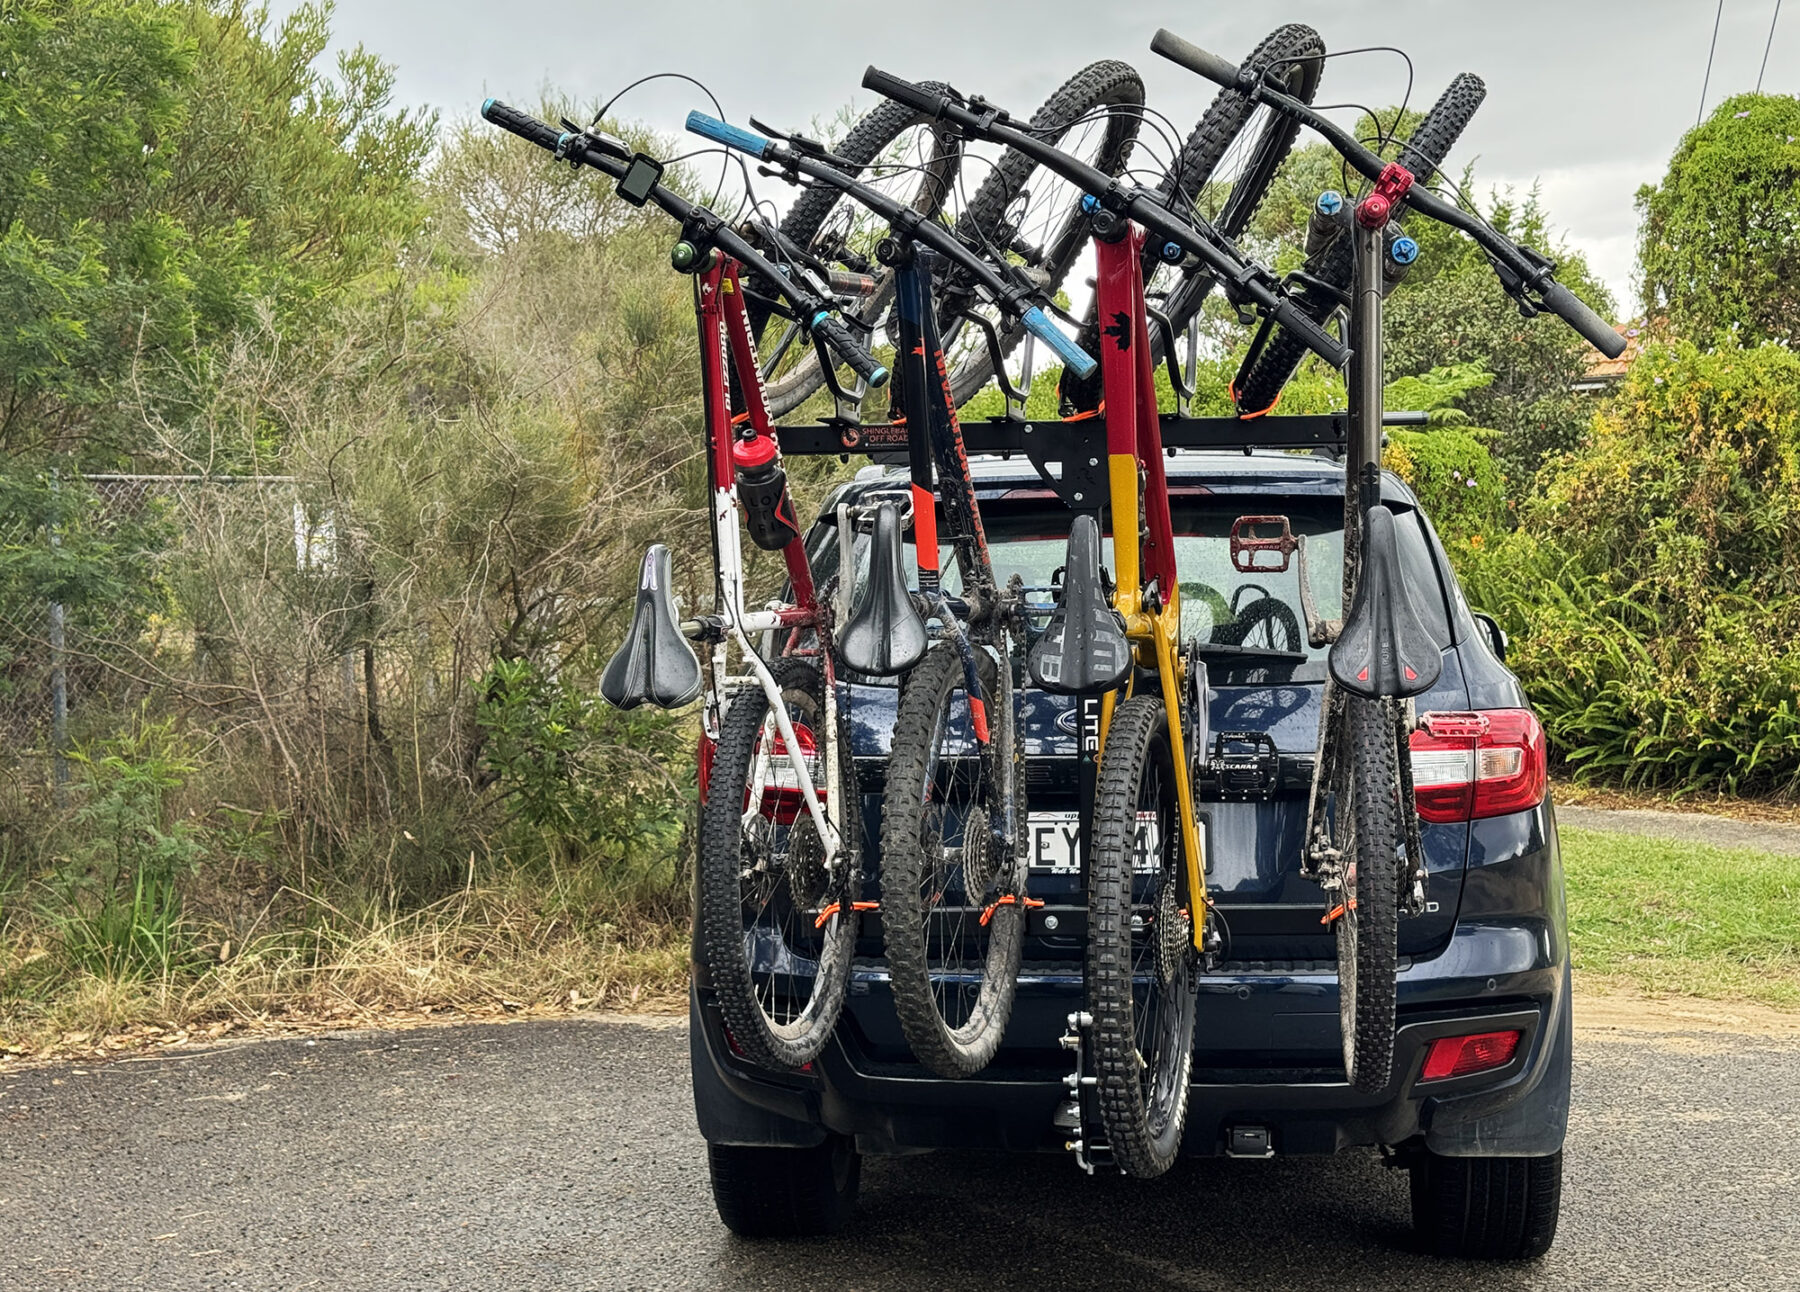
Besides how easy the LITE 4 makes the bike-loading process, the other standout feature of this rack is the fact no part of the bike frame is touched, so you will no longer have to worry about bikes, pedals, handlebars, etc., banging into each other and scratching frames, tangling cables, etc. The cradles’ versatility in how they can be angled means you will easily figure out a setup that ensures no bike-to-bike contact. The bungee cords have also impressed during testing; the tight cord means there is minimal bike movement, whether sideways or vertically, when travelling over bumpier surfaces.
The LITE 4 has been on test for a few months now and it has been most often loaded with four bikes. We’ve now got the loading process down to barely a couple of minutes – a far cry from the ‘bad old days’ of playing bike Tetris for 30 minutes with racks that position bikes too close to each other, then tout themselves as ‘four bike racks’ when, in reality, they’re really only good for two.
One final thing worth noting is that the LITE 4 is narrow enough that you won’t need a separate light bar, but be sure to check and, if in doubt, grab one of the Shingleback light bars as well. As with any rear-mounted bike rack, you will also have to buy an auxiliary numberplate, easily affixed to the supplied plate-holder.
The final word on the Shingleback LITE 4
The Shingleback LITE 4 has been well and truly tested over the past few months and it has seriously impressed us. Between me and a couple of other senior gear testers, we’ve struggled to find fault with this impressive unit. The very clever design, robust construction, attention to detail, and how incredibly easy it is in use, makes it a definite candidate for one of our Best Gear awards this year. The asking price may seem slightly steep, but it is in line with other racks of similar capacity and, more importantly for us, it is Aussie designed and built. For any cycling family looking for a bike rack that offers model versions that can lug anywhere from one/two up to six bikes, the Shingleback LITE range is well worth a look.
RRP: from $1590 (4 Bike model, as tested) See Shingleback Off Road for more info on its extensive range of bike racks.


